
blades VAWT Visually :-)
The pictures show the construction of the wings quite well.
It is best to click on the first one to enlarge it and then use the arrow to the right to view one image at a time.
Under each picture there is a brief explanation.


Material selection and fitting
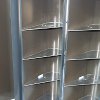
I have decided for aluminum because it is light, weather resistant and easy to process. For the wings, aluminum was used, as is also seen on many roofs. I chose a dark (brown) color because I would not want to someone is being blinded with the windmill. If the sun is unfavorably reflected, that is not good.
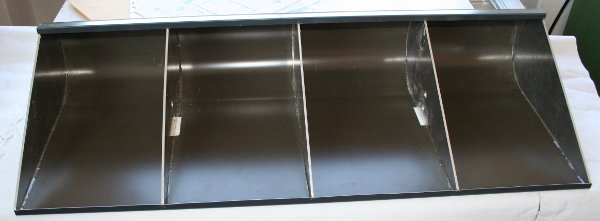
The connection between wing plate and profile plates was glued with UHU Endfest 300.
(After half a year of continuous operation and a survived winter, I must say that the glue is not suitable!)
I have concentrated too much on the fact that the windmill can withstand strong wind and I was mainly concerned to use an adhesive with an extremely high bond force.
But UHU Endfest is rigid. A flexible adhesive is more suitable. I will bond the profiles again with a good silicone and test the next winter.
!—The profiles hold with Endfest of UHU, but I see smaller cracks after half a year—!
Größe und Maße
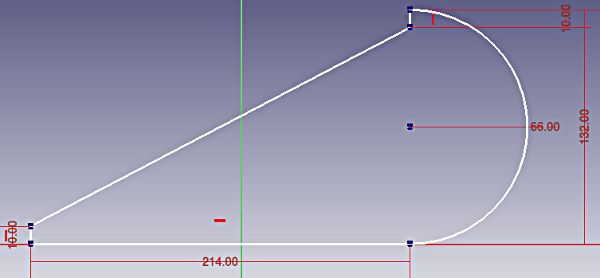 The size of the wing profiles is derived from the preliminary considerations of the page Dimensioning – own construction VAWT vertical axis wind turbine.
I have transferred the enclosed drawing to 3mm thick aluminum sheet and sawn using a decuping saw with sawblades for soft metal.
With a little patience, this goes quite well.
2 profiles per wing, were still provided with 2 holes (9mm diameter) to allow connection to the bracket at the hub.
Another 2 profiles per wing each received a 9mm hole in the center of the circle arc to reinforce the profiles on the top and bottom of the wing.